
Elevate Your Aquarium’s Greenery with Our DIY CO2 Generator Kit!
Transform your underwater world with our meticulously designed CO2 Generator Kit. Crafted from durable aluminum alloy, this kit ensures long-lasting performance, giving your aquatic flora the optimal conditions for vibrant health and lush growth.
The key features of CO2 system
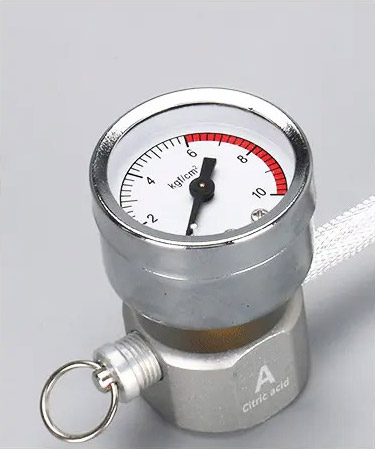
Real-Time Monitoring
Equipped with a pressure gauge for easy tracking of system pressure.
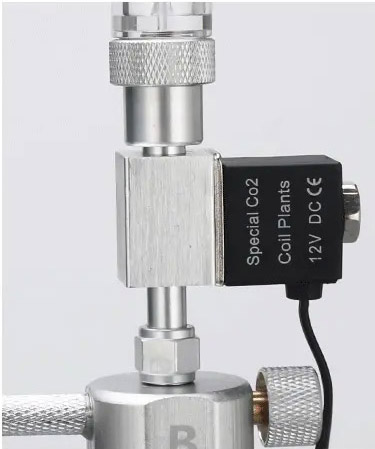
Precision Control
Features a solenoid valve for precise CO2 regulation and automated shut-off capabilities.
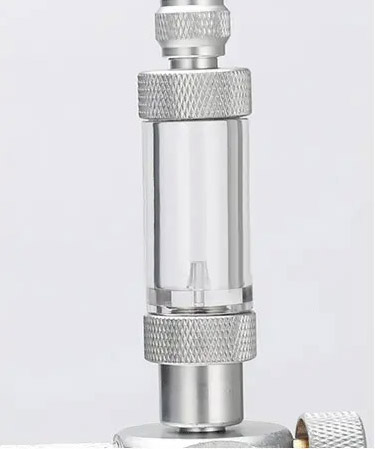
Accurate Measurement
Bubble counter includes a check valve for precise monitoring of CO2 flow.
Durable Construction
Aluminum alloy body ensures extended service life with excellent acid and corrosion resistance.
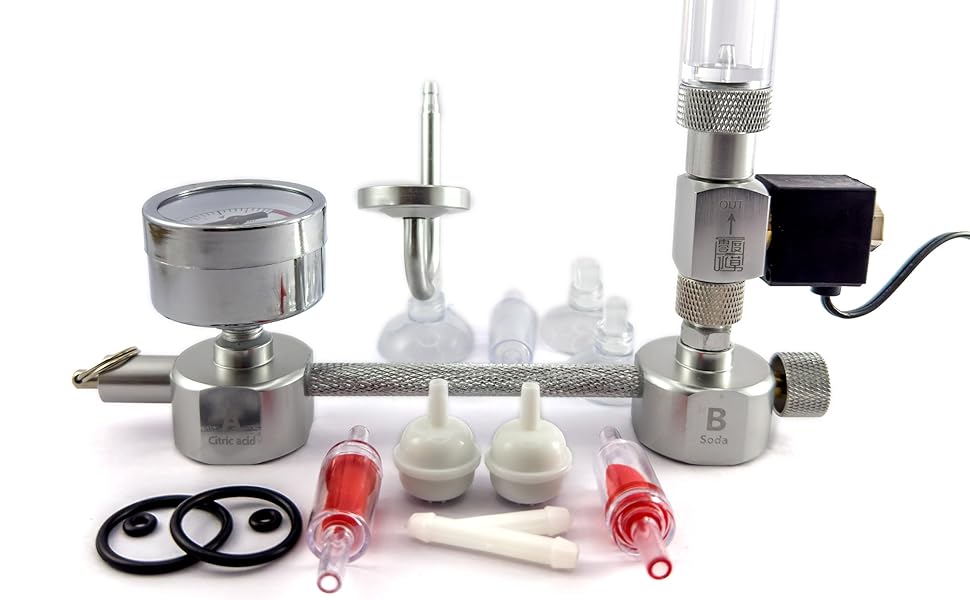
CO2 Kit System Components
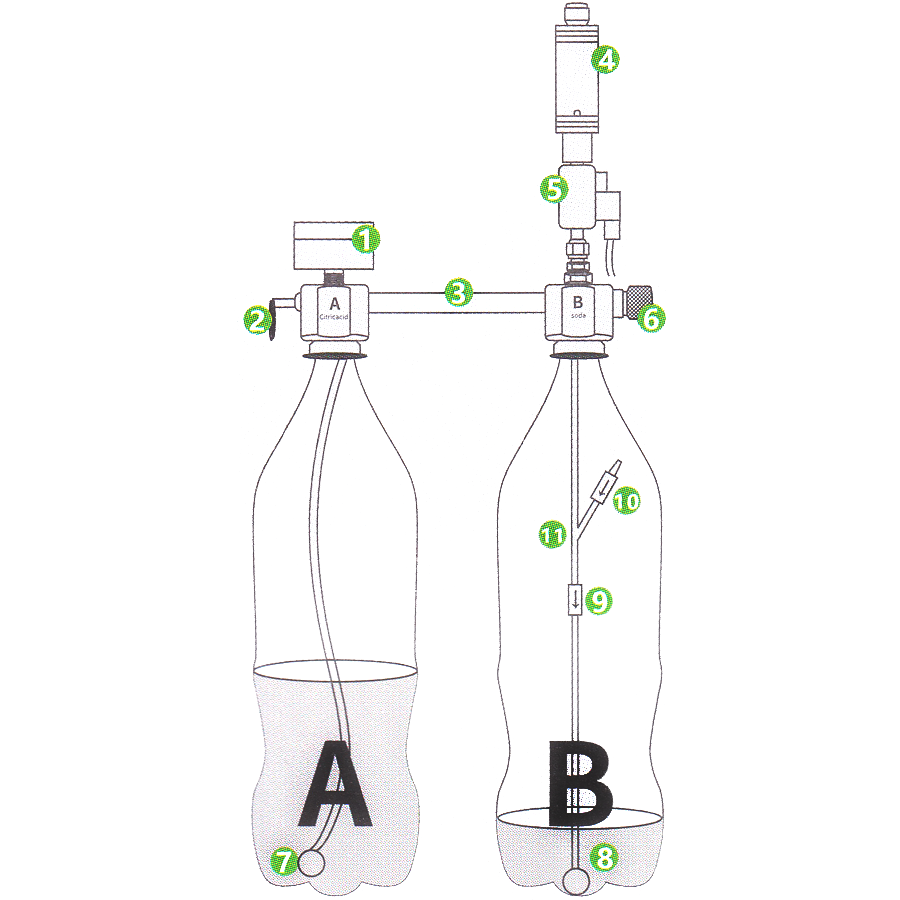
- Pressure Gauge: Displays pressure.
- Pressure Relief Valve: Automatically relieves pressure over 4 kg. Do not manually tighten the safety valve, as this may cause it to fail.
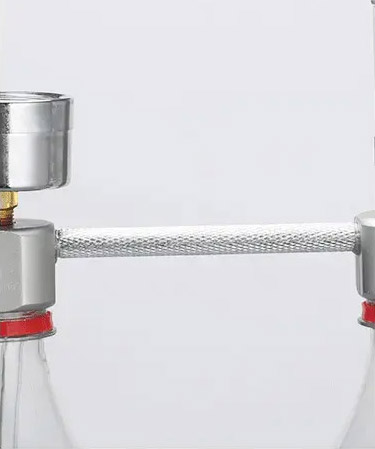
- CO2 Generator Body: The main structure of the system.
- Bubble Pressure Gauge: Indicates the volume of gas.
- Solenoid Valve: Allows for automated on/off control of the system when connected to a timer (timer not included).
- Fine Adjustment Valve: Adjusts the volume of CO2 exhaust.
- Submersible Ball Suction Head for Acid: Draws acid into Bottle B.
- Submersible Ball: Lower the ball to the bottom to facilitate the reaction between acid and soda.
- One-way Valve: Ensures acid enters the bottom of Bottle B.
- One-way Valve: Opens when the pressure in Bottle B is higher than in Bottle A, stopping the flow of acid from Bottle A to Bottle B.
- Slanted Tee with Two One-way Valves: Ensures efficient CO2 reaction.
Note: The package does not contain containers for reaction raw materials. Please prepare two 1.5L or larger plastic beverage bottles (Coke plastic bottles are the best). Do not use glass bottles or beer bottles to avoid accidental cracking or explosion due to excessive pressure.
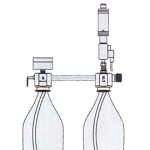
Step-by-Step Guide: Setting Up Your DIY CO2 System for Aquariums
Step 1: Add the Raw Materials

- Bottle A: 200g of Citric Acid + 600ml of warm water
- Bottle B: 200g of Baking soda + 200ml of water
- Shake it well
Step 2: Connect the Bottles to the CO2 Generator
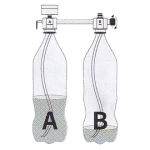
- Bottle A – Citric Acid
- Bottle B – Baking Soda
- Screw in place.
Step 3: Initiate the CO2 Reaction
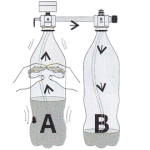
- Open the fine-tuning valve.
- Press Bottle A. When the acid enters Bottle B and bubbles arise, close the fine-tuning valve immediately.
- The optimal pressure is 1-2 Kg. If it does not reach at least 1.5 Kg, open the fine-tuning valve and release the CO2 for 5-10 seconds. When the acid re-enters Bottle B, close the fine-tuning valve immediately and shake Bottle B from side to side to ensure full reaction for about 2 minutes. Check again whether the pressure reaches 1-2 Kg; if not, repeat this step as needed.
- IMPORTANT: Many customers feel concerned when the pressure is too low, thinking the pressure gauge is broken. Repeat this operation 5-10 times to reach the ideal pressure value!
Step 4: Install the Solenoid and Bubble Gauge
- Install the solenoid valve and bubble counter. Adjust to the appropriate CO2 flow output.
- IMPORTANT: When installing the solenoid valve and bubble counter, ensure that the connection includes a small O-ring seal to prevent CO2 leakage.
Comparative Analysis of CO2 Output Across Different Aquarium Sizes Over Time
Assuming the system operates 6 hours a day for reference.
The following graph shows the service time of 200 grams of raw material:
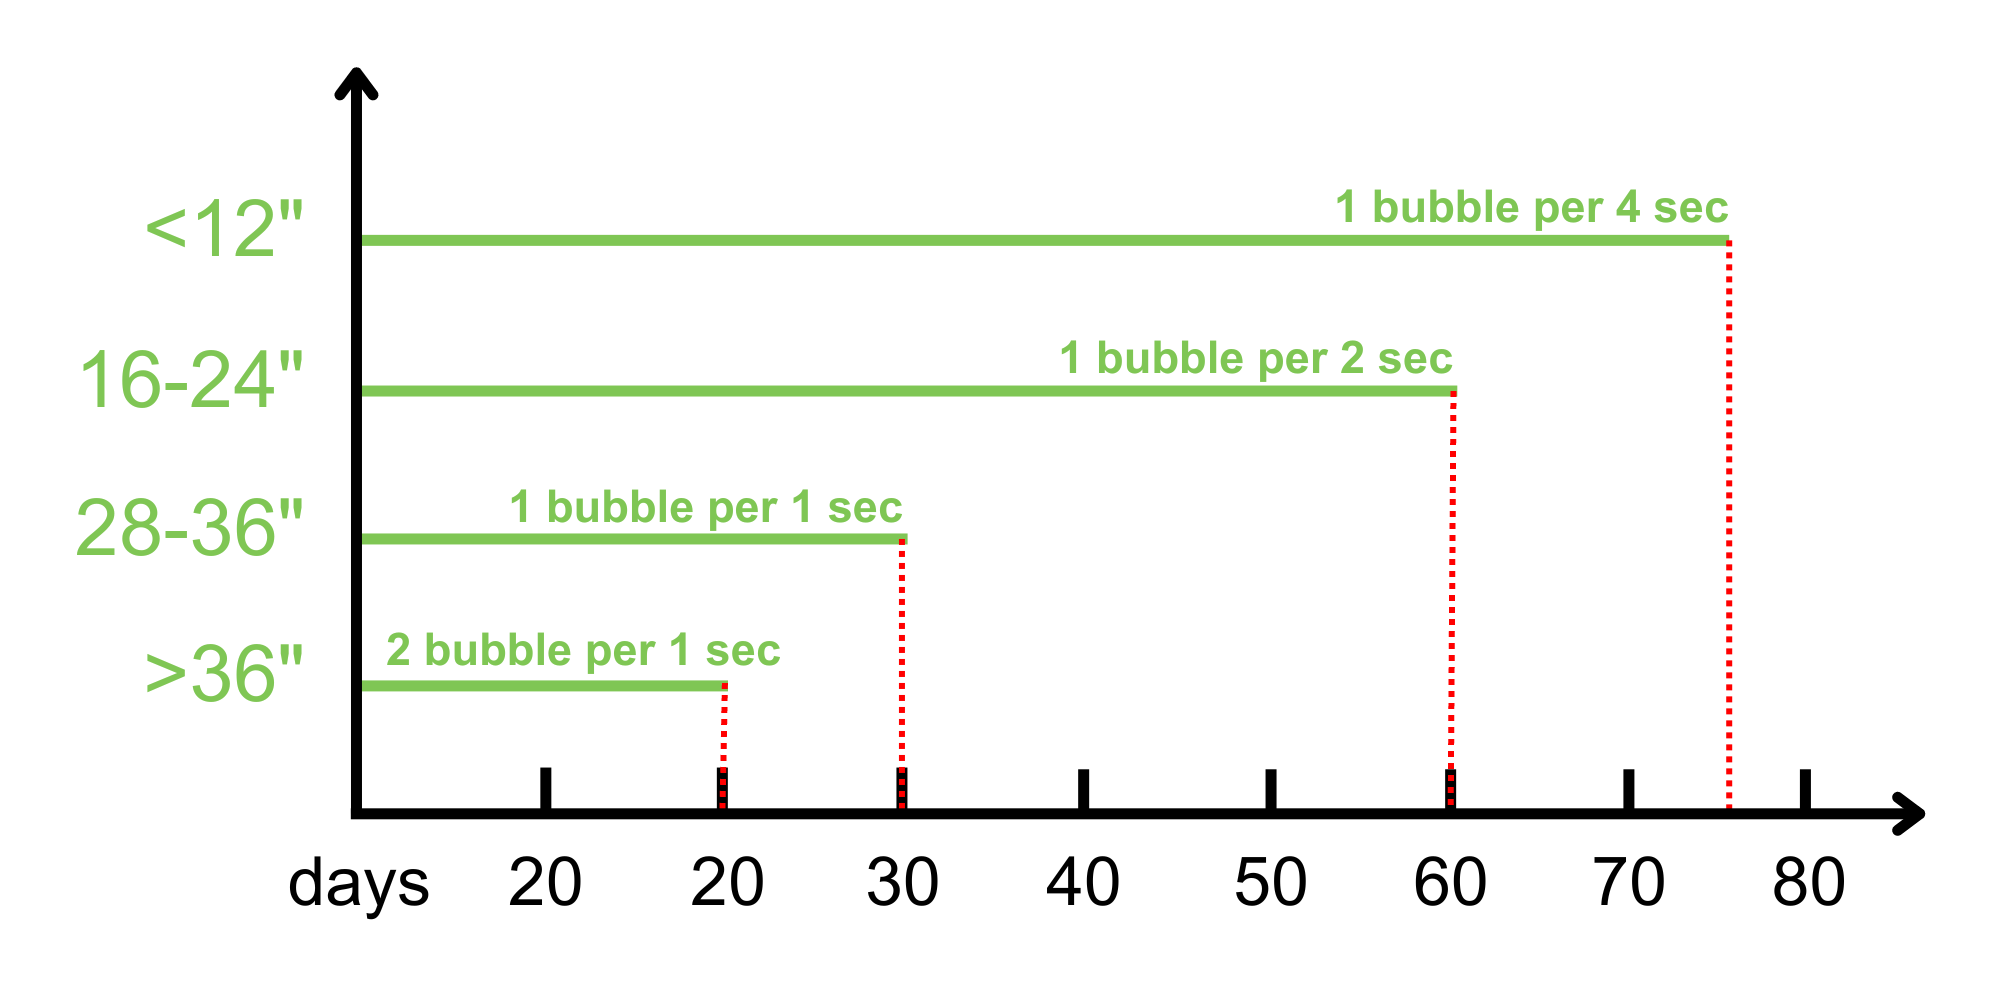
The service time is proportional to the CO2 output.
Excessive CO2 output may lead to the death of fish.
Due to factors such as the quality of raw materials used by individuals and the amount of CO2 output, the data may be inaccurate.
Troubleshooting
Many customers feel pressure when there is gas and think the pressure gauge is broken or has a problem. Please repeat the operation mentioned in step 3, 5-10 times to reach the ideal pressure value (1-2 Kg). Continue this even if the bottle feels strong and you believe that the pressure is sufficient.
When the solenoid valve is working and has a green light, it should be hot because it has a 2W coil.
Option 1: There may be residual air pressure in the solenoid valve bubble when power is cut off, which normally needs about 10 minutes to clear. To test whether it is residual gas or if the valve can’t be turned off, first remove the tubing connected to the bubbler. Adjust the valve to observe whether the bubble flow rate is continuous.
Option 2: If there are no bubbles, the solenoid valve is functioning normally. If bubbles continue to emerge, remove the solenoid valve, disassemble it, check for any foreign matter inside, then pull the spring and reinstall to test.
Scheme 1: Ensure the generator is not submerged and check for air leaks at each connection point.
Scheme 2: If there is no CO2 leak, you may need to debug several times based on your experience.